helpful tips
Horse & Rider Prep Guide
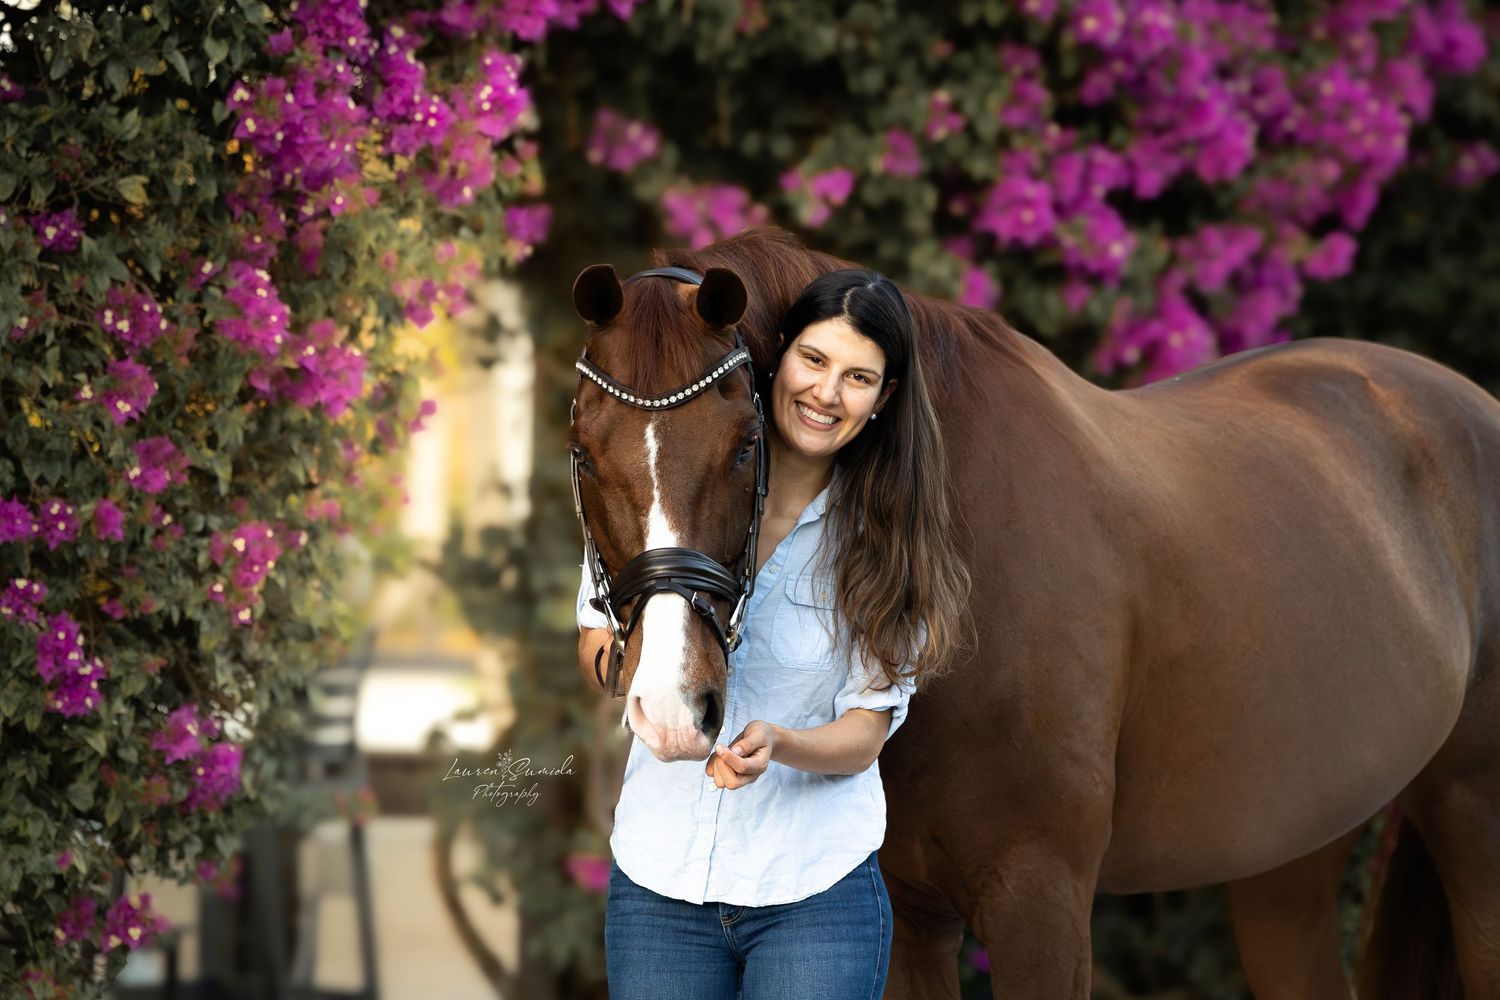
Welcome to your complimentary Horse & Rider Session Prep Guide! These tips are gathered from experience of photographing my own horses as well as clients’ horses, and they’re designed to help you feel fully prepared. Following this guide will set your session up for success and create a smooth, stress-free experience for both you and your horse(s).
The Setup
What's included
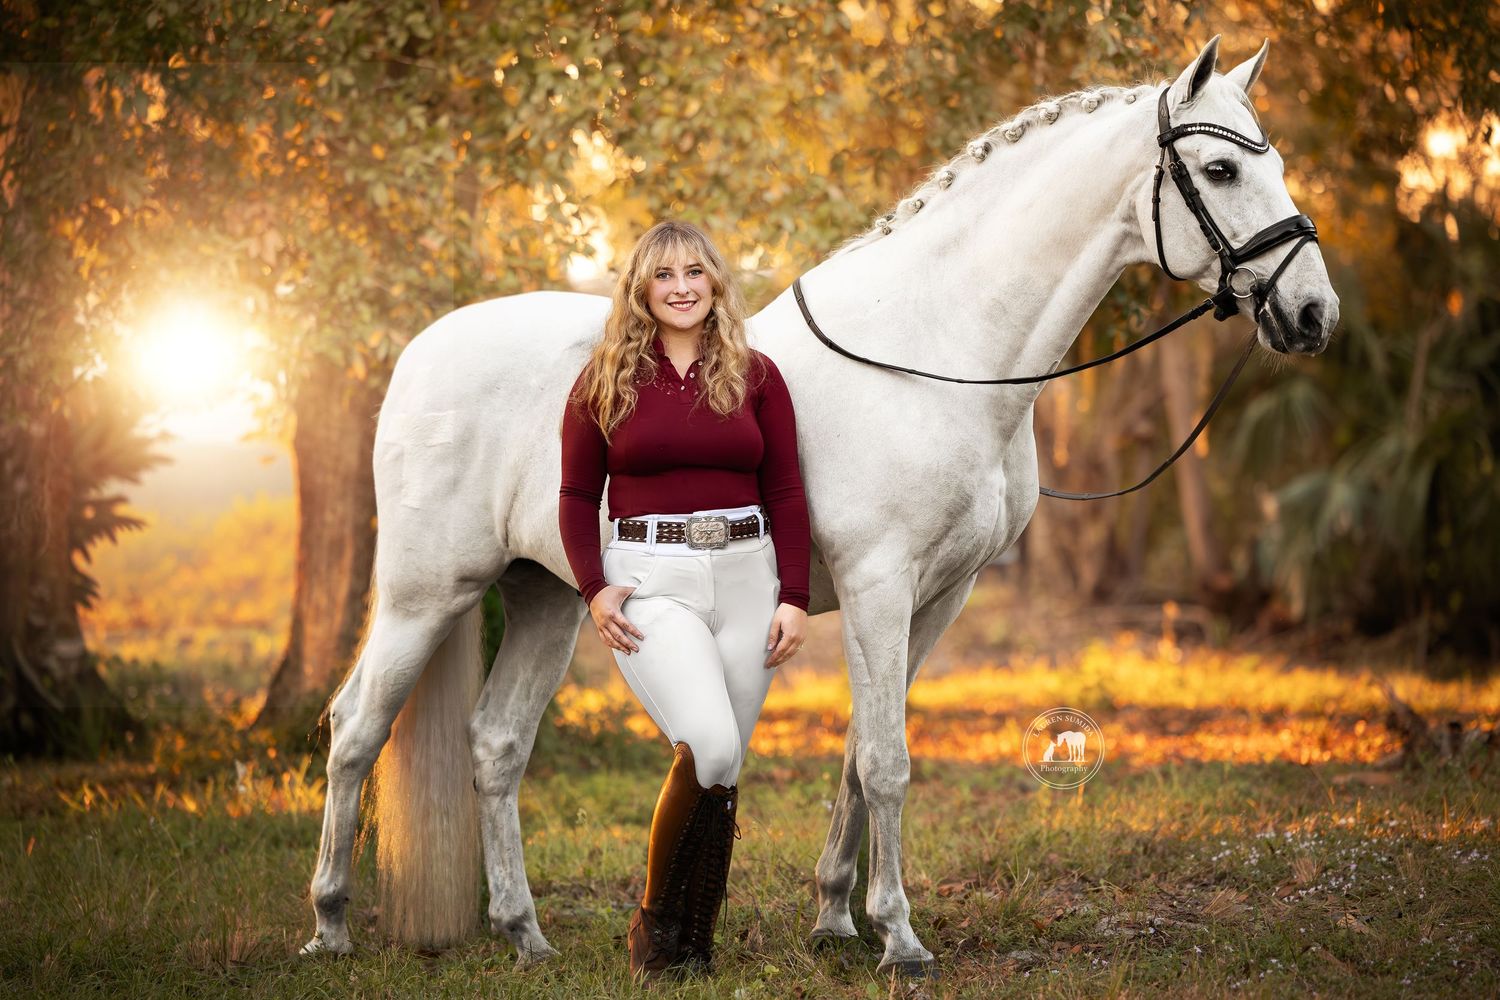
Horse & Rider sessions are held during sunrise or sunset to take advantage of the most flattering natural light, and they typically take place throughout the property. If there are particular locations you would like incorporated into your images, I recommend spending some time there with your horse beforehand to ensure they feel relaxed and familiar with the environment.
Be sure to arrive in attire that is appropriate for the season, and ensure that your horses tack fits appropriately and is clean and polished.
Grooming Tips & Tricks
Bathing is an easy way to help make that coat POP! Some horses like to roll immediately after they are bathed. An easy way to help keep them clean after a bath is to use a light show sheet or slinky for the hotter climates. Make sure you are utilizing purple shampoo on horses that have large areas of white to get that extra bright look.
Clip Every horse owner has their own grooming routine, but I’ve found it helpful to clip the legs and fetlocks before bathing to ensure everything is clean and polished—especially for horses with lighter markings. For photo sessions, unless you prefer a more natural appearance, I recommend tidying the bridle path, trimming under the jaw, and neatening the legs. These steps help create a refined, professional look that photographs beautifully
(Pro Tip: Try clipping your horse a few days before your session in case you get too close to their legs, nobody likes a spotty clip job. )
Braiding or Banding your horse’s mane can create a polished, show-ready appearance—especially for black background sessions. Because banding is truly a skill of its own, consider asking a knowledgeable friend for help or hiring a professional if you’re not fully confident in your technique. You’ll be glad you did. The style of banding you choose will also influence the overall aesthetic of your session. For example, Western banding pairs best with Western tack, while Dressage braids complement Dressage tack to maintain a cohesive, intentional look. If you prefer a more natural presentation, leaving the mane loose or lightly braiding it to create soft waves is always a timeless and elegant option that photographs beautifully.
Touching Up the areas around the eyes and muzzle with a clean rag, light clipping, and a touch of oil can help remove stray hairs or dust and enhances the natural definition in these areas. This creates a smoother, more sculpted appearance and adds a subtle shadowed effect that photographs beautifully.
Blanketing your horse the night before your session can make a noticeable difference in the final images. Keeping the coat covered helps the hair lay flat, reducing any roughness or puffiness and creating a smooth, polished appearance. Even putting a light sheet on and a slinky can make all the difference! This small step enhances the overall presentation of your horse and contributes to a more refined, photo-ready look on the day of your shoot.
Keep in mind that the attention you invest in grooming plays a significant role in the overall quality and refinement of your final images.
What to have during your session
After completing these preparations, your horse will be fully ready for the session. To maintain a polished, photo-ready appearance throughout your shoot, I recommend keeping a few essentials close by. The six items I suggest having on hand are:
- Soft Brush
- Soft Rag
- Show Sheen
- Mane and Tail Comb/Brush
- Fly Spray
- Treats!
Exercise
If your horse is naturally high-energy, consider giving them a lunge or light ride about an hour before your session. This allows them to settle both physically and mentally. Be sure to leave enough time afterward for them to cool off, remove any sweat marks, and relax for a few minutes in their stall before we begin.
For horses that tend to be restless on the ground, it can be helpful to revisit basic groundwork and practice standing quietly in the weeks leading up to your photoshoot. A calm, attentive horse allows for a wider range of poses and ensures we maintain a safe environment throughout the session.
If your horse is typically quiet, steady, and unbothered by new situations, it’s often best to skip pre-session exercise. Instead, focus on understanding what encourages them to show expression or personality—those moments of alertness and engagement are what bring your images to life.
Clean Tack
Thoroughly clean and condition your horse’s tack, be sure to inspect it for any signs of wear or damage. Ensure all necessary repairs are completed far enough in advance to avoid any last-minute issues. Choose a saddle pad that complements your wardrobe and consult with your photographer on questions you may have about color and patterns for your look.
The Extra Hand
Don’t forget to bring an extra pair of hands
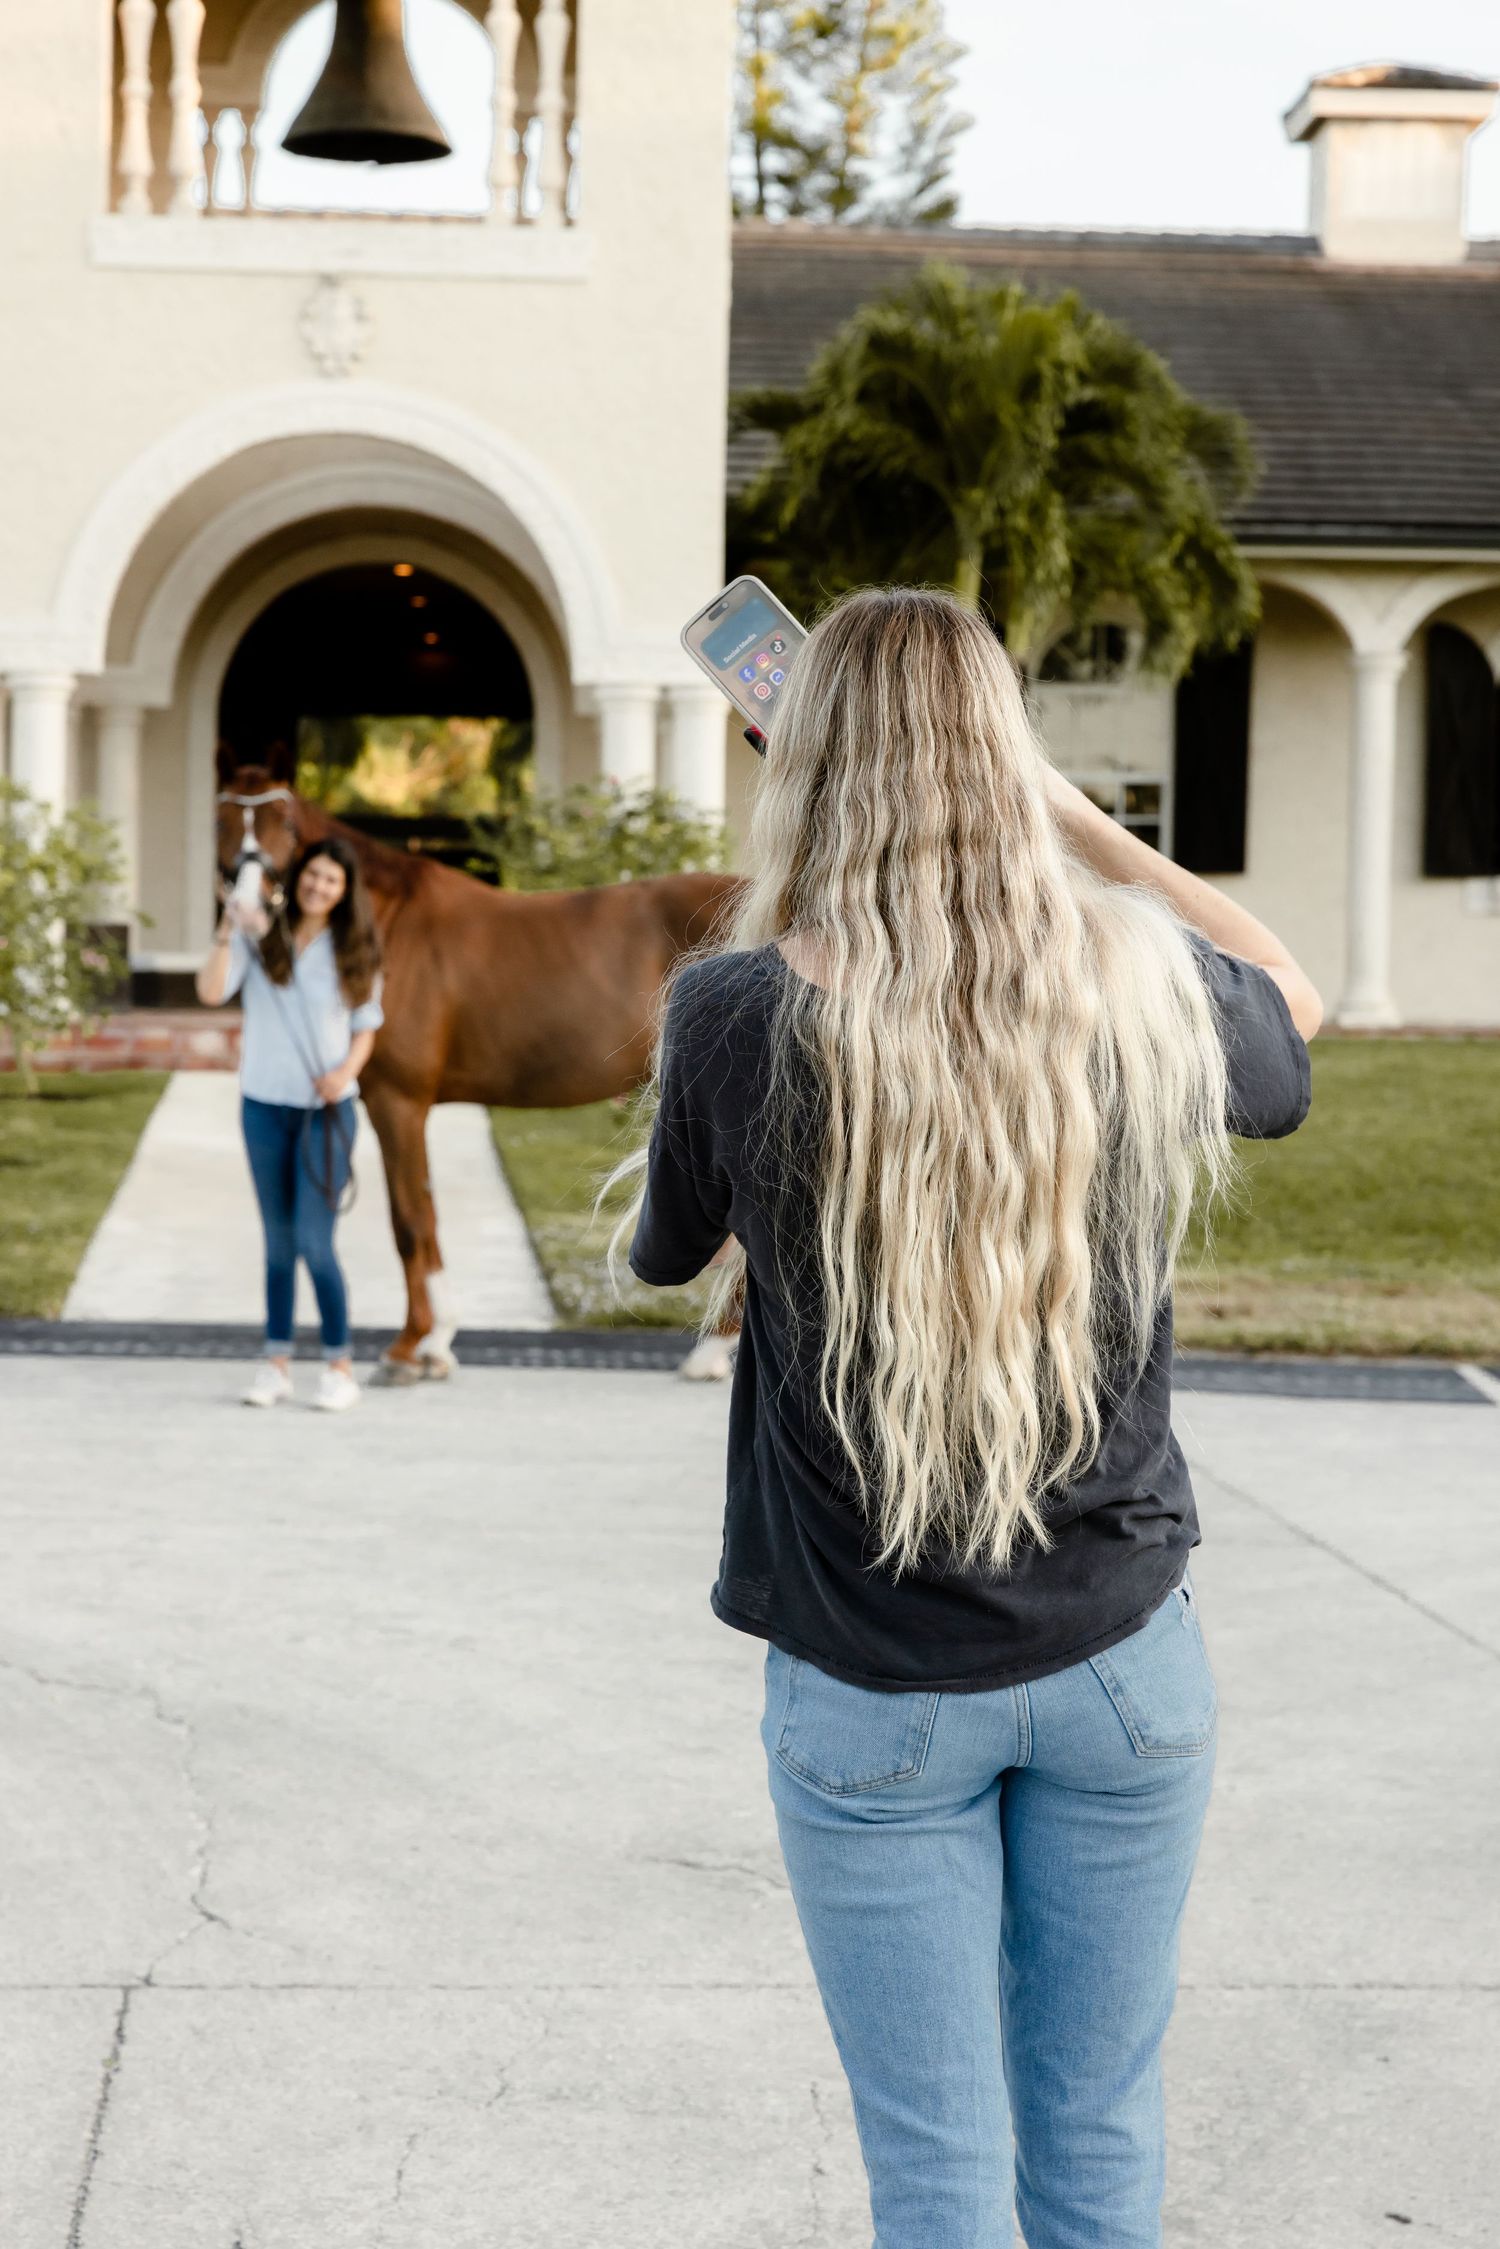
While many photography sessions can be managed independently, equestrian sessions are unique and do require an additional handler for safety and efficiency. A barn assistant, family member, or trusted friend can be an excellent choice to help manage your horse throughout the shoot. If you’re unable to bring someone, please inform your photographer in advance so appropriate arrangements can be made.
To keep in mind!
Please note that any retouching beyond what is already included may come with an additional per-image fee. To ensure the best possible results, please take a moment to review and follow the recommendations outlined in this guide.